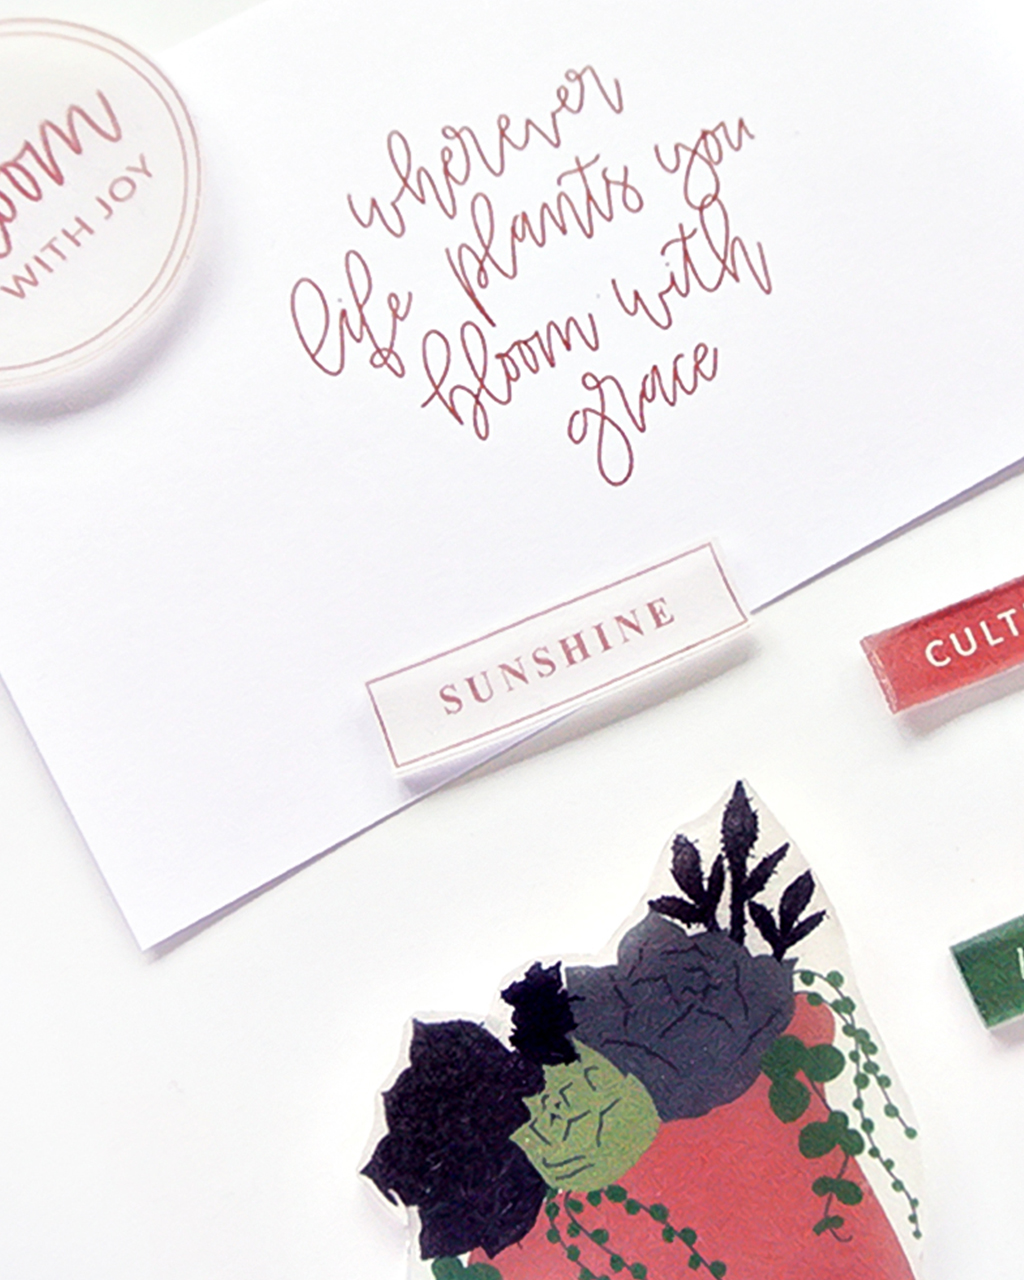
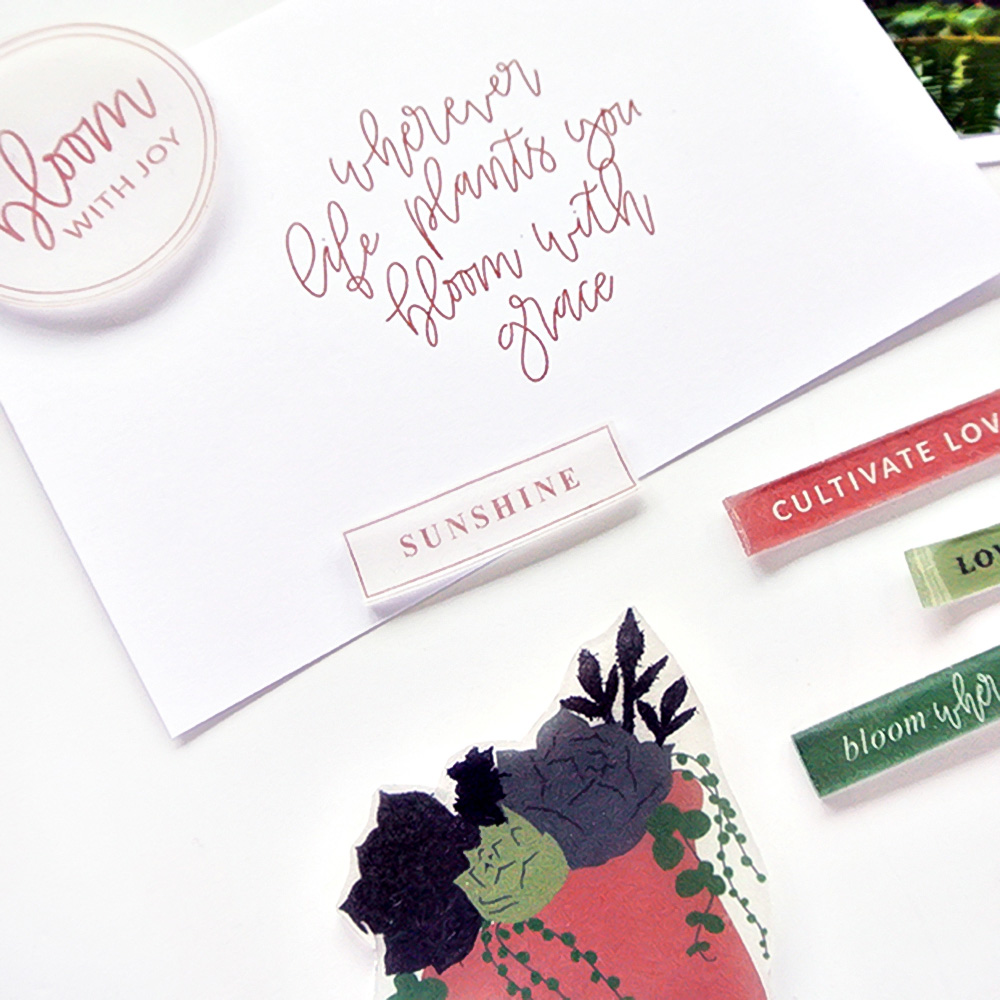
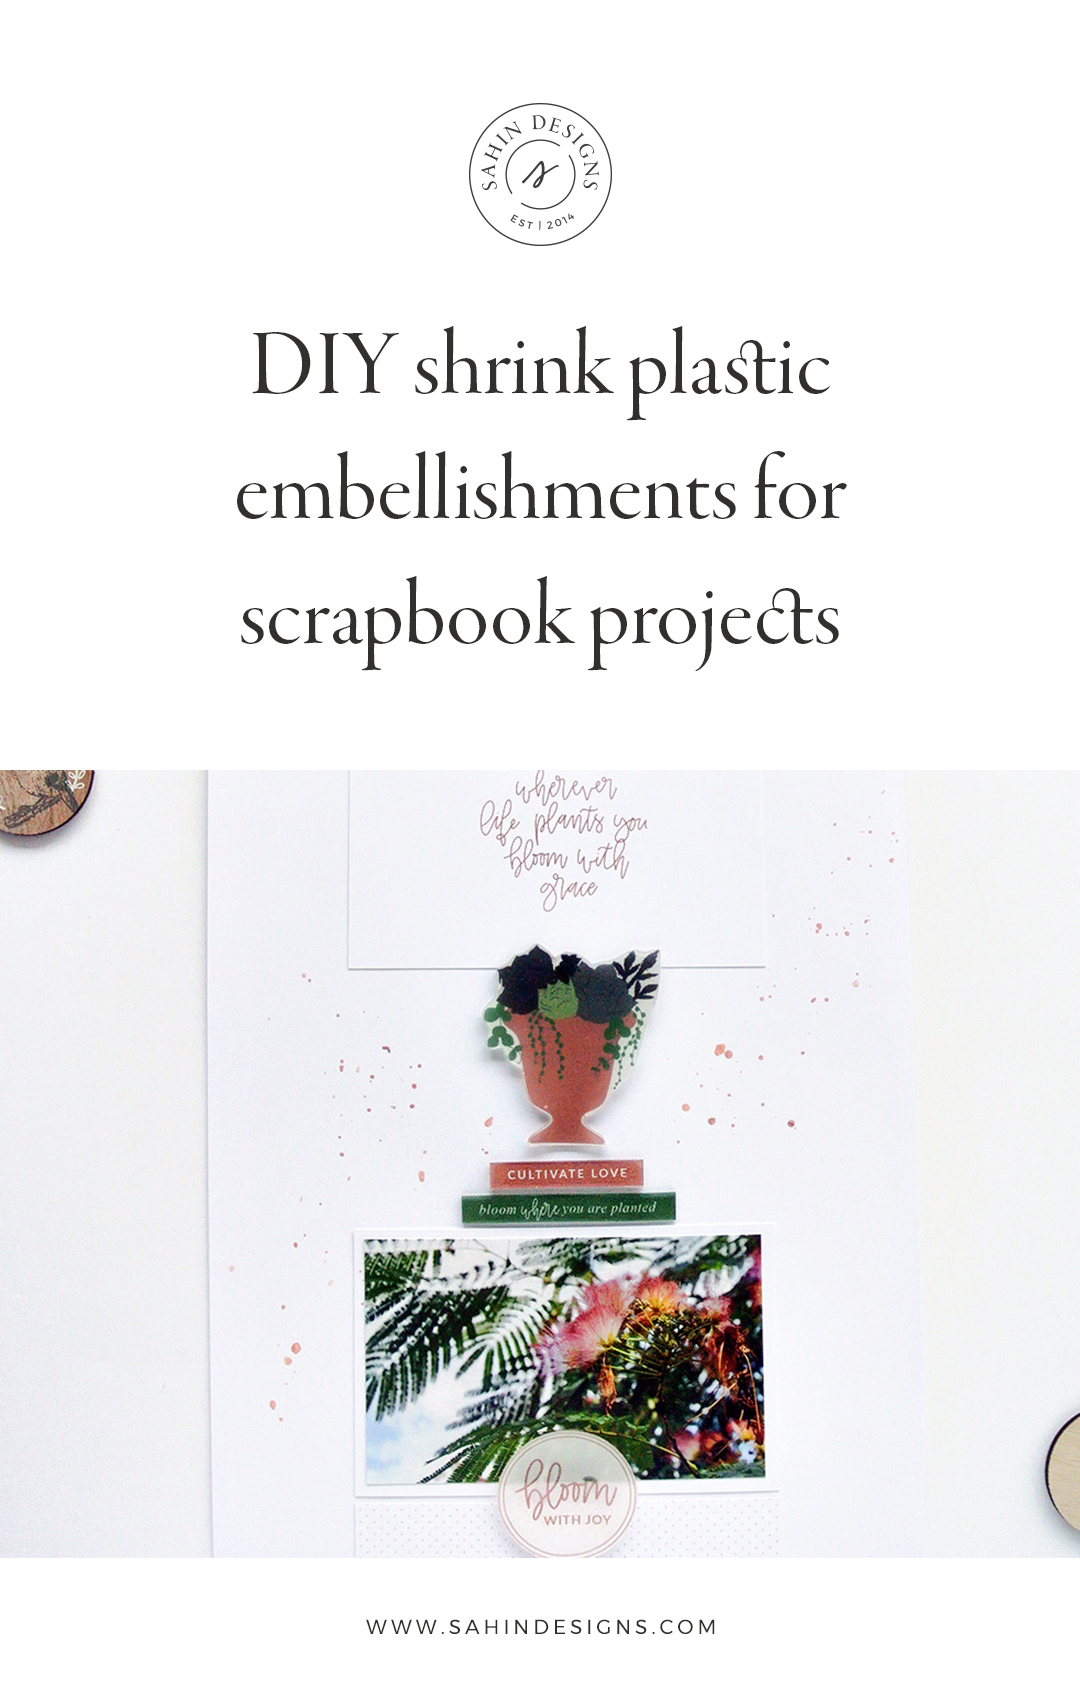
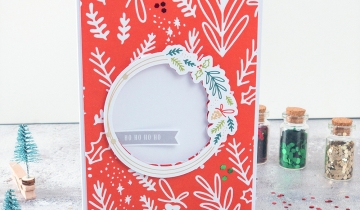
By sorting through my creative stuff, I found some shrink plastic sheets from my girls. I was going to put them away in their room when I had the idea to use them to create my own embellishments. I love digital elements but sometimes I need more dimensional designs and it can be difficult to find the chipboard or puffy sticker which fits perfectly with the collection I play with. By creating my own embellishments I use all the elements of the same collection and everything is harmonious. I will explain how to print digital elements on shrink plastic below in this article.
But before explaining the process I want to tell you how happy I am to share these next few months with you. I’m Sandrine, a French hybrid scrapbooker (pardon my English) who loves to take pictures of my travels and my family. You can discover my creative world on Instagram. Now let’s go to the creative process.

Resizing
First it’s important to resize the item you want to print to the correct dimensions. Indeed, the plastic shrinks when heated. Feel free to do some tests. In your editing software, if your element contains text, you must use the rotation effect to have your text in the right direction (flat horizontal tool in PS CC 2018).

Printing
You can now print your digital elements on shrink plastic. You need to use an inkjet printer and preferably with the draft mode. Indeed the excess ink tends to spread easily and your impression will lose clarity. The impression is made on the grainy side of the shrink plastic. When taking your printed sheet, be careful not to put your fingers on the elements as the ink may take a little time to dry.
Baking
Once the ink dries, cut carefully around your printed shapes and bake them in your oven at the temperature indicated on the packaging (usually 150°C-300°F). At the end of the cooking, press your shrink plastic elements under a heavy object to flatten them. Remember you can also change the colors of your digital elements to create embellishments that match your project (note that colors tend to darken when baking).
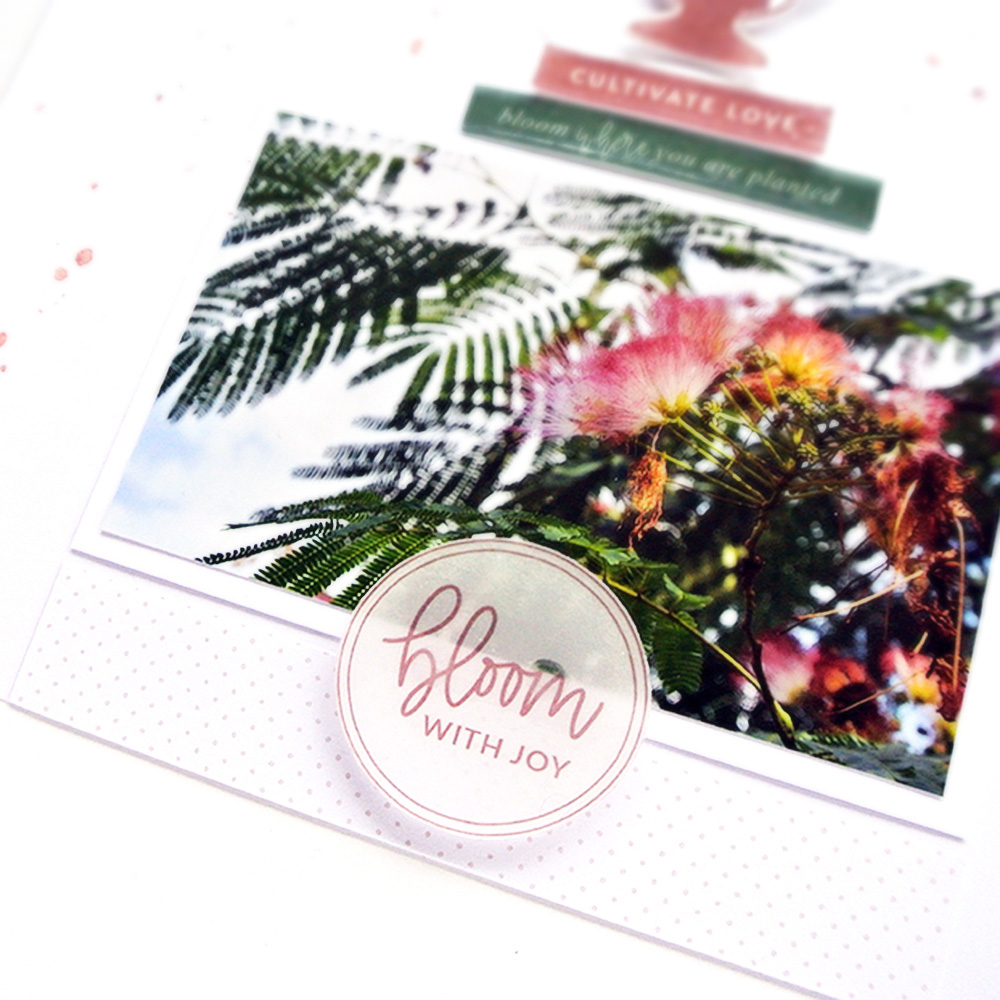
Et voilà!! Have fun completing your scrapbooking project.
Hope you have new embellishment ideas popping in your head! Once you have a chance to read the article I’d love to hear your thoughts on the topic.
What makes you more excited; making your own embellishments by hand or buying them from the craft stores?


 No products in the cart.
I totally bought shrink plastic awhile ago to do this and forgot about it. I’m completely inspired now. Thank you.
Looks super. Thanks for sharing!
I love this! I, too, recently found some shrink plastic, and now know exactly what I’m going to do with them! Thank you!
This is such a unique and cool idea! I love the idea of custom embellishments!
I love this! What kind of adhesive do you use to attach them to your layout?
Hello. You can use self adhesive photo mounts or glossy accents from Ranger Ink. Sometimes glue dots are more visible so be careful!
I love this! Definitely going to try.
Have fun!!